 |
| ....and so it begins.... |
It was supposed to be bigger and played to Muskets & Tomahawks rules but....well, lets just say it wasn't and leave it at that. The Donnybrook rules were chosen as fewer figures were needed and, supposedly, a faster game system would allow a couple of games. As it turned out the first game lasted all evening! This was the first time we had used the rules etc etc etc.
Four people played whilst I acted as umpire. Mark and Steve played as the Maori with two units of eight warriors each and a couple of character figures. Andy and Bob played as the Europeans, Andy took one unit of eight British infantry and the unit of twelve settlers. Bob had the second unit of eight British infantry and a unit of eight New Zealand Militia; each also had a couple of character figures. In the rule a basic 6 is required to score a hit and any given target. Poorer quality troops, such as the settlers, had to use a D6. The bulk of the troops could use a D8 whilst a few of the characters could use a D12. This did not always help as you will later see.
The scenario was that a party of Maori were raiding outlying homesteads and so several settlers had retreated to the house of the local magistrate and corrupt (probably) Land Agent and his family. They were supported by a detachment of Militia and a Local Constable. A detachment of British infantry were on their way to help evacuate the assembled settlers but, to add a little flavour, the British Officer was the brother of the magistrates wife and was determined to save her and his two young nieces.....not too bothered about the brother in law though! They arrived late and the Maori attack had begun.......
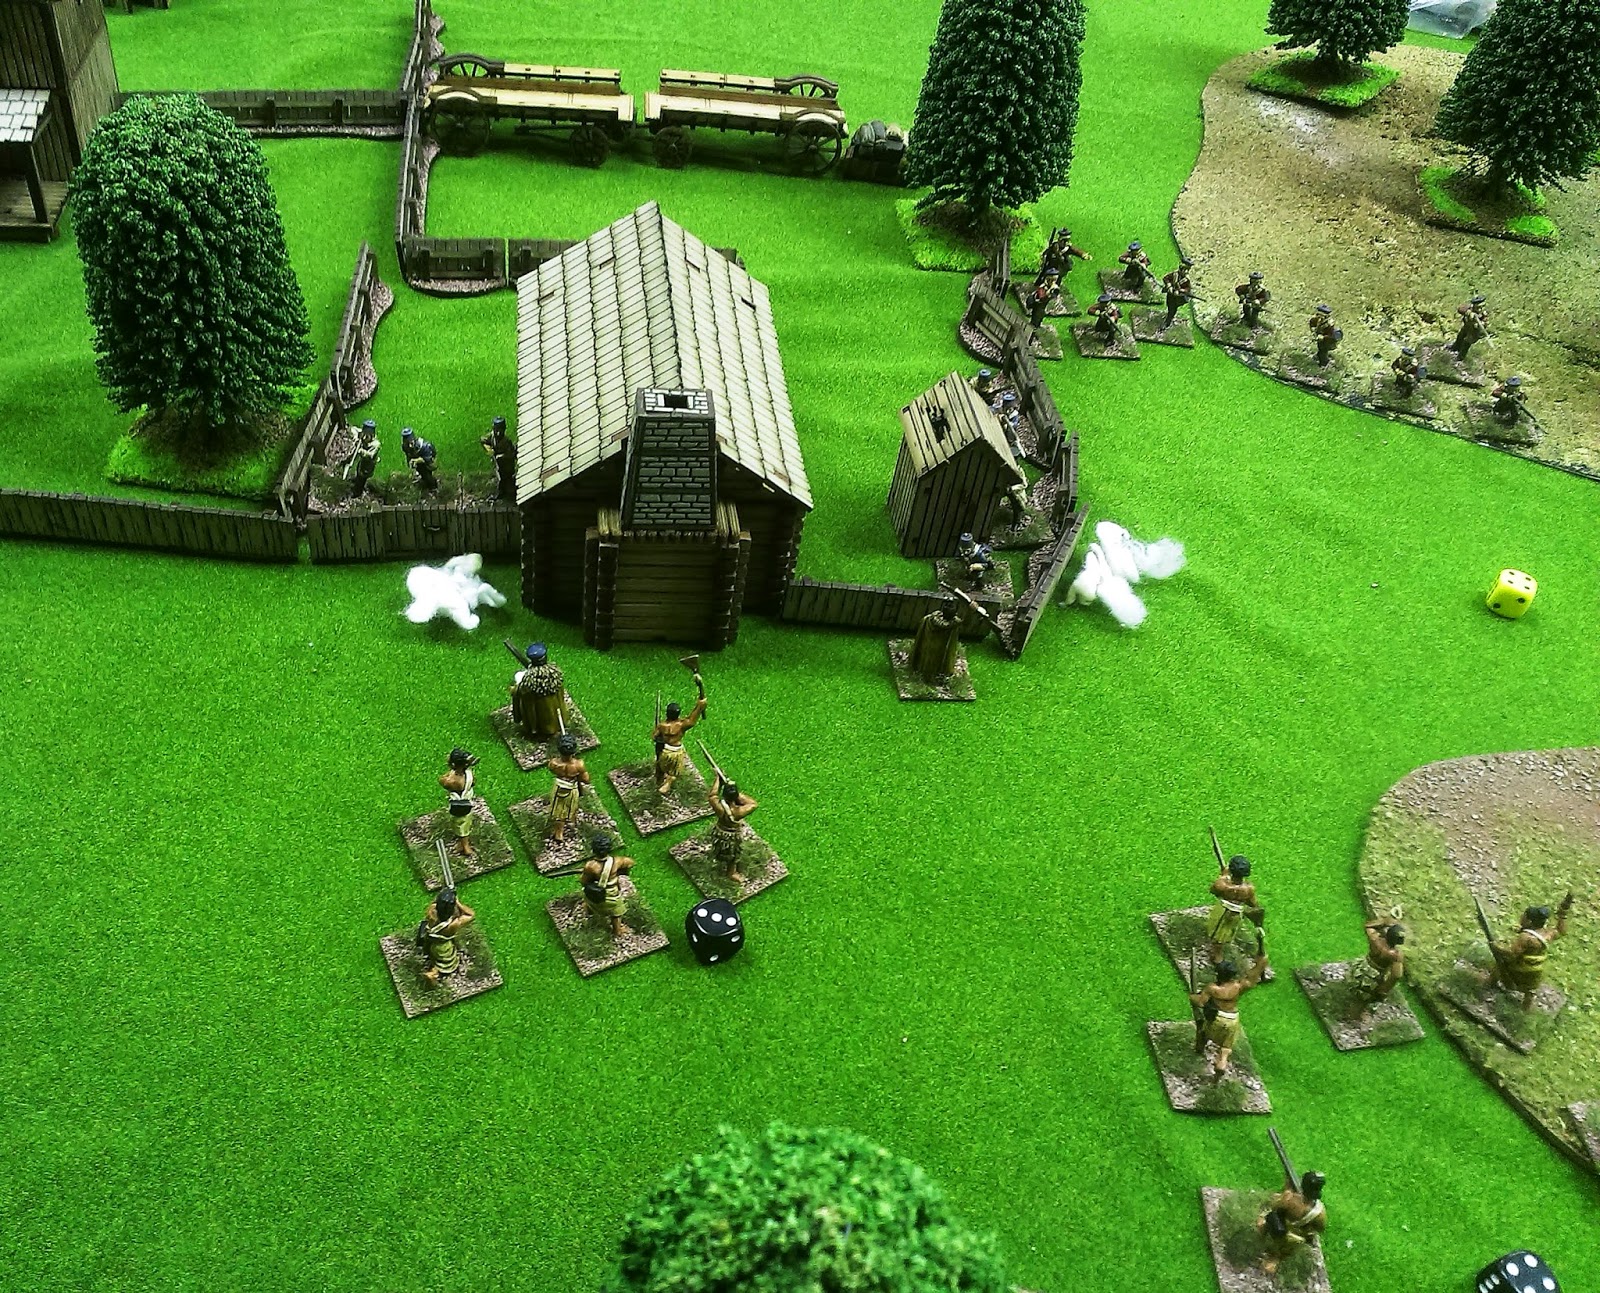
Donnybrook uses a card driven unit activation system, which allows for an interesting and often frustrating turn sequences as some units do not get to move each turn; or activate too late! In this case Andy's British infantry unit stood admiring the local flora and fauna for some time whilst the Maori attack began. The Maoris attacked in two groups from the West, Mark concentrating on the north end of the homestead and Steve the south end; both choosing to move through the cover of woods to get as close as possible.
At first, the defenders seemed to be doing well. They shot down a few Maori warriors in the opening turns and a blood bath was feared by Mark and Steve before the defences could be reached. Some good Maori saving throws by Steve perhaps saved the early turns from becoming too messy and pressure mounted on the Settlers and Militia. The British troops were slow to get involved encouraging the Maori to close the gap and get to the homestead quickly.
 |
| Steve's Maori units three and four approach the south end of the settlement |
Bob, did manage to get his British unit into the fight reasonably quickly aided by the movement bonuses his attached character provided. This meant that the Maori attacks to the south were challenged but the defences were breached and some messy close combat continued for several turns.
 |
| Maori character figures lead the way and the assault hits home... |
 |
| ....soon overpowering the militia defending the fence line |
The use of special character figures with various unique traits really opened up the game, especially for the Maori. Several of these proved pivotal in the fight and are quite hard to kill off. The British characters never really had the chance to use their skills effectively and this may have been a key issue for them. The Militia were soon killed off to a man leaving Bob's British infantry unit fairly isolated. Maori unit four was all but wiped out but the sacrifice delayed the British from keeping the Maori unit three from breaching the defences. Bob's Constable character was able to use a D12 for all his attacks and one might have thought that such a useful skill would help the defence..and it would have done if he could have shot straight! At no point in the game did this character roll any higher than a 5 and missed every time. When he was eventually hacked down many considered it a mercy killing. Bob's British unit could only harass the Maori now but they took casualties in doing so leaving them seriously outnumbered and cowering in the woods.
 |
| The assembled settlers await the onslaught, directed by the magistrate |
Meanwhile, at the north end of the homestead, Mark made good use of the cover and got close to the defences. Some good shots by the defenders took out a couple of Maori warriors but the weight of Mark's fire and movement were a major threat to Andy's Settlers...or, as Mark pointed out, these days Settlers are known as 'Tums'....and we wonder why we take so bleeding long to play a game...Good use of the Maori characters as individual units saw the north end defences breached and confusion in the compound amongst the settlers allowed the warriors time to reach the fence line unchallenged.
 |
| Maori shooting has weakened the defenders and the assault begins... |
Andy's British unit, trying to hurry to aid the settlers, was just in range to get a shot off that completely took out the remaining six figures of Maori unit one; caught out in the open as they rushed to gain the fence line and with no saving throw.
 |
| ....but the British infantry of Andy arrive just in time to catch Maori unit one with a volley in the open; six kills! |
Whilst a major blow to the Maori, the undamaged Maori unit two, supported by characters, cleared the defences and panicked what was left of the defence into a rout.
With two Maori units in full control of the homestead and the settlers dead or missing the game was all but over. The Maori set light to the houses and even began to take the fight to the British infantry units. How that would have ended is anyones guese but at worst it would have been a partial Maori victory and the British officer, should he have survived, would have faced a rather serious enquiry as to the loss of so many men and the death of the magistrate.
 |
| The Homestead falls and is put to the torch! |
 |
| The fight continues as Andys British unit arrives too late |
 |
| ...and so it ends... |
All in all, a good game. The rules are simple but as always a bit more familiarty would have helped; we no doubt missed a few important pionts. I can see Donnybrook being used for other games but tweeks will be needed to better represent later warfare periods than the one the rules were actually written for....it still worked though. I hope you all think it worth all the bloody grief of hearing me whine about it!
A very good after action Report. I was surprised to see the British not in close order as this would have given them +1 to hit, but would mean certain terrain types were impassable. The colonial types as irregulars makes sense. Nice to see it all together and to note that the Flagstaff war has begun.
ReplyDeleteHi Clint, The Brit players quickly realised that they could not get into action quickly enough in line so broke into skirmish order....then didnt get many activation cards! :) The need to spend a whole turn to change formation is a problem for a late period and one of the tweeks I have in mind. I have been enthused to get the full game up and running though :)
DeleteLooked like a damned good game!!!
ReplyDeleteHi Ray, Thanks mate. I am a bit biased, of course, but I think people enjoyed it. Would like to try it again with the tweeks and having a better grasp of the basics....sort of!
DeleteGreat looking game, this table is splendid (love the buildings...)
ReplyDeleteHi Phil, Thanks :) The buildings are 4Ground, the figures Empress Miniatures. My mate Mark made the more tropical looking terrain pieces. I even had a dead guy sitting on the loo in the larger outhouse!
DeleteHi, Andy. Glad you enjoyed the game. The rules were originally written for my Darkest Africa games and do indeed require tweeks for this period. I allow formation changes with half moves for regulars and also the reload card is only needed for units with muskets... Men with the more modern weapons of the age may fire every time their card is drawn. I give natives a +2" move and you may find they need 50% more units to overcome the extra fire power of the settlers. Truth be told I rarely use any sort of army lists when designing scenarios.
ReplyDeleteAnyway, it sounds like you have the spirit of it - I look forward to seeing more adventures! You will definitely find the game faster once you've got a few games in.
Hi Clarence, We all very much enjoyed the game and I very much appreciate you taking the time to pen a few pointers for me :) As usual, I spent too much time on putting the game on and not enough reading the rules properly! Everyone wants to play the game again so I must have done something right somewhere, the pointers you give are fantastic and will go a long way to me running this game again very soon. It never helps when too many players take part in a first run of a game...especially at our club with members a tad overexciteable at the best of times....sigh. Thanks again, Clarence, I now need to paint more Maoris :)
DeleteI've jut stumbled across this (better late than never). The game look excellent! And your battle report is very enjoyable. It is great to see the Empress figures in use. And those 4Ground buildings do the job really well for New Zealand. Ka pai!
ReplyDeleteRoly (Arteis)